4 Easy Shingle Roof Repairs You Can Do Now
4 Easy Shingle Roof Repairs You Can Do Now shows how to fix minor repairs. Is your shingle roof showing signs of wear and tear? In this article, 4 Easy Shingle Roof Repairs You Can Do Now, discover how to extend the life of your roof and protect your home!
4 Simple Shingle Roof Repairs You Can Do Now issues
Shingle roofs are a popular choice for many homeowners due to their durability, aesthetic appeal, and cost-effectiveness. However, like any other part of your home, shingle roofs can develop issues over time. Common problems include loose or missing shingles, curling or buckling shingles, leaks and cracks, and significant damage from weather or falling debris. These issues often result from age, improper installation, or severe weather conditions, such as storms or high winds.
Loose or missing shingles are common, especially after heavy storms. When the adhesive that holds the shingles in place weakens, shingles can become dislodged and fall off. This not only looks unsightly but also leaves your roof vulnerable to leaks and further damage. Similarly, curling or buckling shingles can result from moisture buildup or poor attic ventilation, causing them to warp and lift.
Leaks and cracks are another common issue, often resulting from the aforementioned problems. Water can seep through the smallest openings, leading to water damage inside your home. If left unaddressed, these leaks can cause significant structural damage, mold growth, and costly repairs. I want you to know that knowing these common issues early can help you take the necessary steps to repair your shingle roof and prevent further damage.
Tools and Materials Needed for 4 Simple Shingle Roof Repairs You Can Do Now
Before you start any roof repair project, it’s essential to gather all the necessary tools and materials. Having everything on hand will make the process smoother and more efficient, ensuring that you can complete your repairs without unnecessary delays. Some of the basic tools you’ll need include a hammer, roofing nails, a pry bar, a utility knife, and a ladder. Additionally, you may need a caulking gun, roofing cement, and a trowel to seal leaks and cracks.
For shingle replacement, you’ll need a few extra materials, including replacement shingles, a roofing nailer, and roofing felt. It’s important to choose shingles that match the existing ones on your roof to maintain a uniform appearance. For safety, make sure you have a sturdy ladder, non-slip footwear, and a safety harness to prevent falls. Working on a roof can be dangerous, so taking the necessary precautions is crucial.
Lastly, don’t forget protective gear like gloves and safety glasses. These will protect your hands from sharp edges and your eyes from debris. With all your tools and materials ready, you’ll be well-prepared to tackle any shingle roof repair task. Remember, having the right equipment is half the battle won when it comes to DIY home repairs.
Repairing Loose or Missing Shingles
Loose or missing shingles are among the most common roofing problems homeowners face. If you notice any shingles that are not securely attached or have fallen off entirely, it’s crucial to address the issue promptly. Begin by identifying the affected area and removing any debris or old nails. This will provide a clean surface for the new shingle to adhere to.
Next, slide the replacement shingle into place, ensuring it aligns with the surrounding shingles. Use roofing nails to secure the new shingle, placing them in the same spots as the old nails to maintain consistency. Be sure to hammer the nails in firmly but carefully to avoid damaging the shingle. Once the shingle is in place, apply a small amount of roofing cement to the edges to seal it and provide extra security.
If you’re dealing with a loose shingle, you can often re-secure it without replacing it entirely. Carefully lift the shingle, apply roofing cement underneath it, then press it back into place and secure it with nails if necessary. This simple repair can prevent further damage and significantly extend your roof’s lifespan.
Fixing Curling or Buckling Shingles
Curling or buckling shingles can indicate moisture problems, poor ventilation, or age-related deterioration. When shingles curl or buckle, they expose the roof to potential water damage and leaks. To fix this issue, start by identifying the affected shingles and gently lifting them to inspect the underside. If the shingle is still in good condition, you can often flatten it back down with a bit of roofing cement.
Apply a generous amount of roofing cement to the underside of the shingle, with particular focus on the edges. Press the shingle firmly back into place and hold it down for a few minutes to ensure proper adhesion. You may need to use a heavy object to keep it in place while the cement dries. This method is effective for minor curling but may not work if the shingle is severely damaged.
In cases where the shingle is too damaged to be flattened, you’ll need to replace it. Remove the damaged shingle by carefully lifting the surrounding shingles and prying out the nails. Slide the new shingle into place, secure it with roofing nails, and apply roofing cement to the edges. Regularly inspecting your roof for curling or buckling shingles can help you catch these issues early and prevent more extensive damage.
Sealing Leaks and Cracks in Shingles
Leaks and cracks in shingles can lead to significant water damage if not addressed promptly. To seal leaks and cracks, start by identifying the source. This can be tricky, as water can travel along the roof before entering your home. Please look for signs of water damage in your attic or ceiling to pinpoint the leak’s location.
Once you’ve identified the leak, clean the affected area thoroughly to remove any debris or old roofing cement. Apply a generous amount of roofing cement to the crack or leak, using a trowel to spread it evenly. Be sure to cover the entire area and extend the cement slightly beyond the crack to ensure a watertight seal. For larger cracks or holes, you may need to apply a patch of roofing fabric over the cement.
If the leak is coming from a damaged shingle, you may need to replace the shingle entirely. Follow the same steps as you would for replacing a loose or missing shingle, ensuring that the new shingle is securely attached and sealed. Regularly inspecting your roof for leaks and cracks can help you catch these issues early and prevent costly water damage to your home.
4 Easy Shingle Roof Repairs You Can Do Now Step-by-Step
Replacing damaged shingles is a straightforward process that most homeowners can handle with a bit of patience and the right tools. Start by gathering your materials, including replacement shingles, roofing nails, a pry bar, a hammer, and roofing cement. Ensure that your replacement shingles match the existing ones on your roof for a uniform appearance.
Begin by carefully lifting the shingles surrounding the damaged one to access the nails. Use a pry bar to lift the damaged shingle and remove the nails gently. Slide the damaged shingle out and clean the area of any debris or old roofing cement. Take your replacement shingle and slide it into place, ensuring it aligns with the surrounding shingles.
Secure the new shingle with roofing nails, placing them in the same spots as the old nails to maintain consistency. Apply a small amount of roofing cement to the edges of the new shingle to seal it and provide extra security. Press the surrounding shingles back into place and ensure they are properly secured. This step-by-step process can help you replace damaged shingles quickly and effectively, maintaining the integrity of your roof.
Safety Tips for 4 Simple Shingle Roof Repairs You Can Do Now
Safety should always be your top priority when performing DIY roof repairs. Working on a roof can be dangerous, so it’s essential to take the necessary precautions to protect yourself. Start by ensuring you have a sturdy ladder that is properly set up and secured. Always maintain three points of contact when climbing the ladder and have someone hold the base for added stability.
Wear non-slip footwear and a safety harness to prevent falls. A safety harness can be attached to a secure anchor point on the roof, providing extra protection if you lose your footing. It’s also important to work during favorable weather conditions. Avoid working on the roof during rain, strong winds, or extreme heat, as these conditions can increase the risk of accidents.
Lastly, use caution when handling tools and materials. Keep your work area organized to prevent tripping over tools or debris. Wear protective gear such as gloves and safety glasses to protect your hands and eyes from sharp edges and flying debris. By following these safety tips, you can minimize the risk of accidents and injuries while performing DIY roof repairs.
When to Call a Professional Roofer
While homeowners can do many shingle roof repairs, there are times when it’s best to call a professional roofer. If you’re dealing with extensive damage, multiple leaks, or structural issues, an experienced roofer has the expertise and equipment to handle the job safely and effectively. They can also conduct a thorough inspection to identify the underlying problems that may not be immediately visible.
Additionally, if you’re not comfortable working on a roof or lack the necessary tools and experience, it’s safer to hire a professional. Roof repairs can be dangerous, and a professional roofer has the training and safety equipment to minimize the risk of accidents. They can also complete the repairs more quickly and efficiently, saving you time and potential frustration.
Finally, if your roof is nearing the end of its lifespan or has sustained significant storm damage, a professional roofer can assess whether it’s time for a full roof replacement. They can provide expert advice on the best materials and options for your home, ensuring that your new roof is durable and long-lasting. Knowing when to call a professional can save you time, money, and potential headaches in the long run.
Conclusion of 4 Easy Shingle Roof Repairs You Can Do Now
Regular maintenance is key to extending the life of your shingle roof and preventing costly repairs. Conducting routine inspections and addressing minor issues promptly can help you avoid more significant problems down the road. Keep your gutters clean and free of debris, as clogged gutters can lead to water buildup and damage to your roof. Trim overhanging branches to prevent them from falling and causing damage to your shingles.
Inspect your roof at least twice a year, in the spring and fall, to catch any issues early. Look for signs of wear and tear, such as loose or missing shingles, curling or buckling shingles, and leaks or cracks. Addressing these issues promptly can prevent water damage and extend your roof’s lifespan. Additionally, consider having a professional roofer conduct a thorough inspection every few years to identify any potential problems that may not be immediately visible.
By following these maintenance tips and addressing minor repairs promptly, you can keep your shingle roof in good condition and protect your home from the elements. Regular maintenance and prompt repairs can extend your roof’s lifespan, saving you money and ensuring your home remains safe and secure. Remember, a well-maintained roof is an investment in your home’s longevity and value.
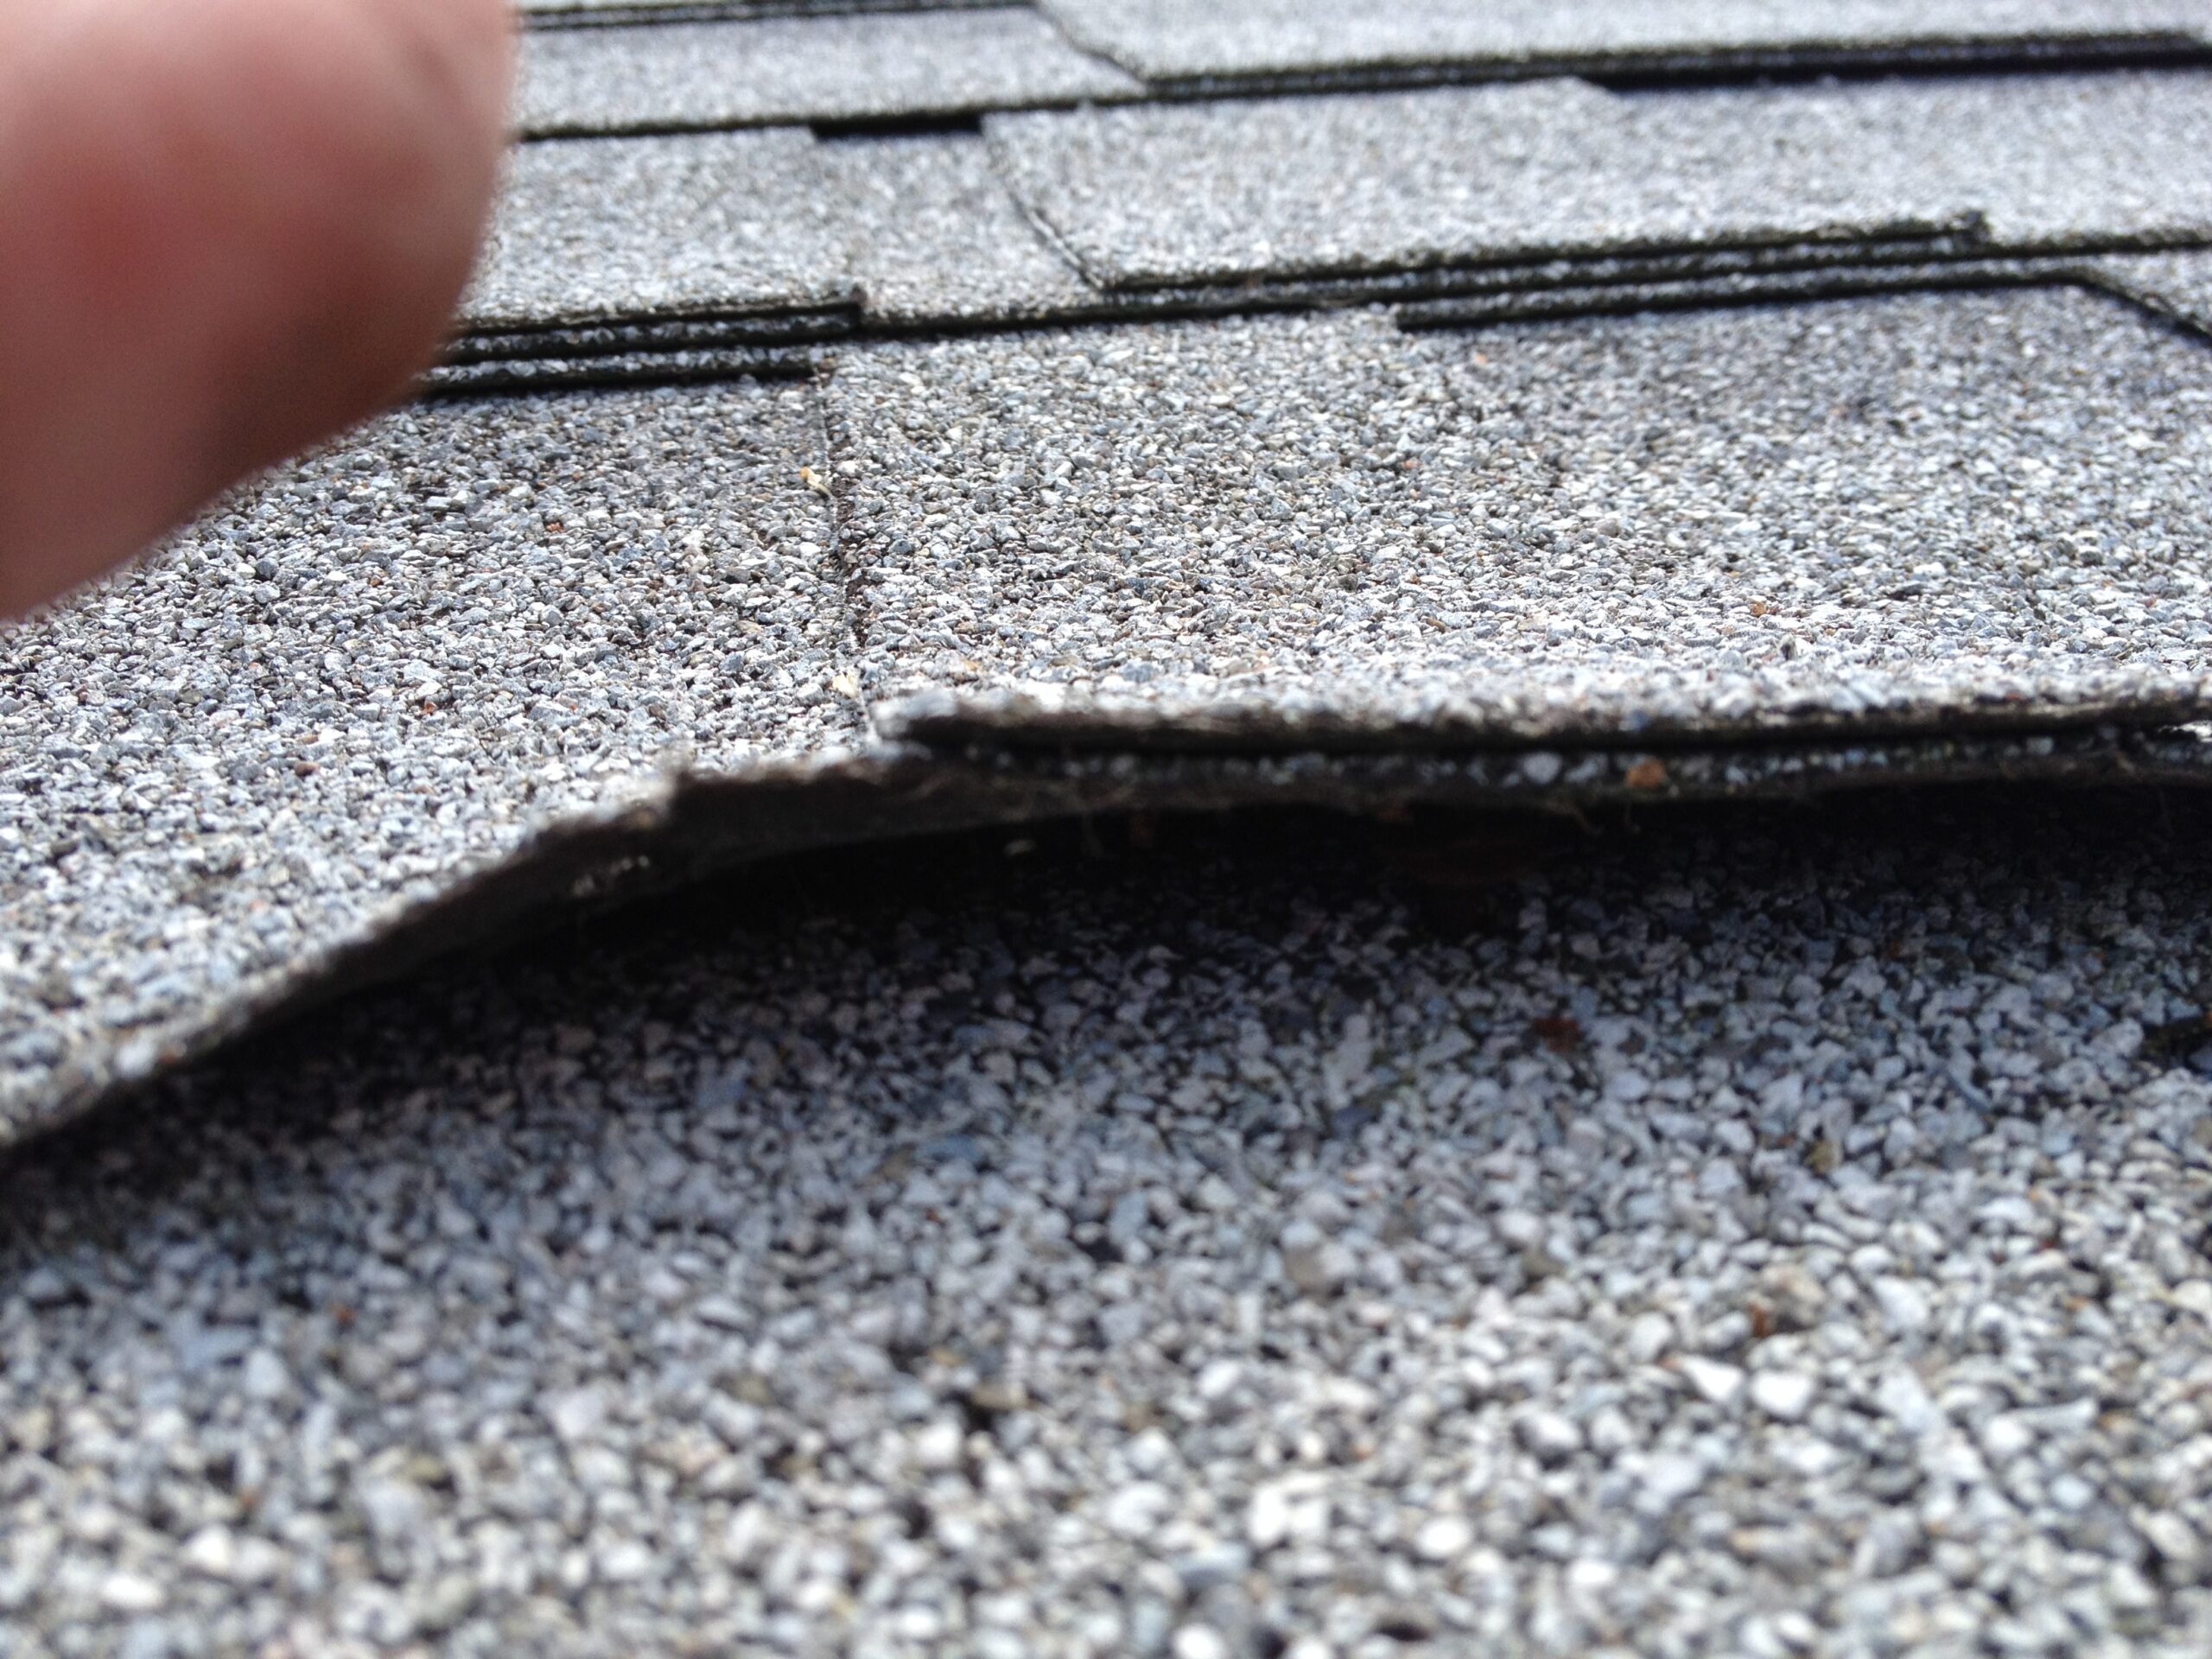
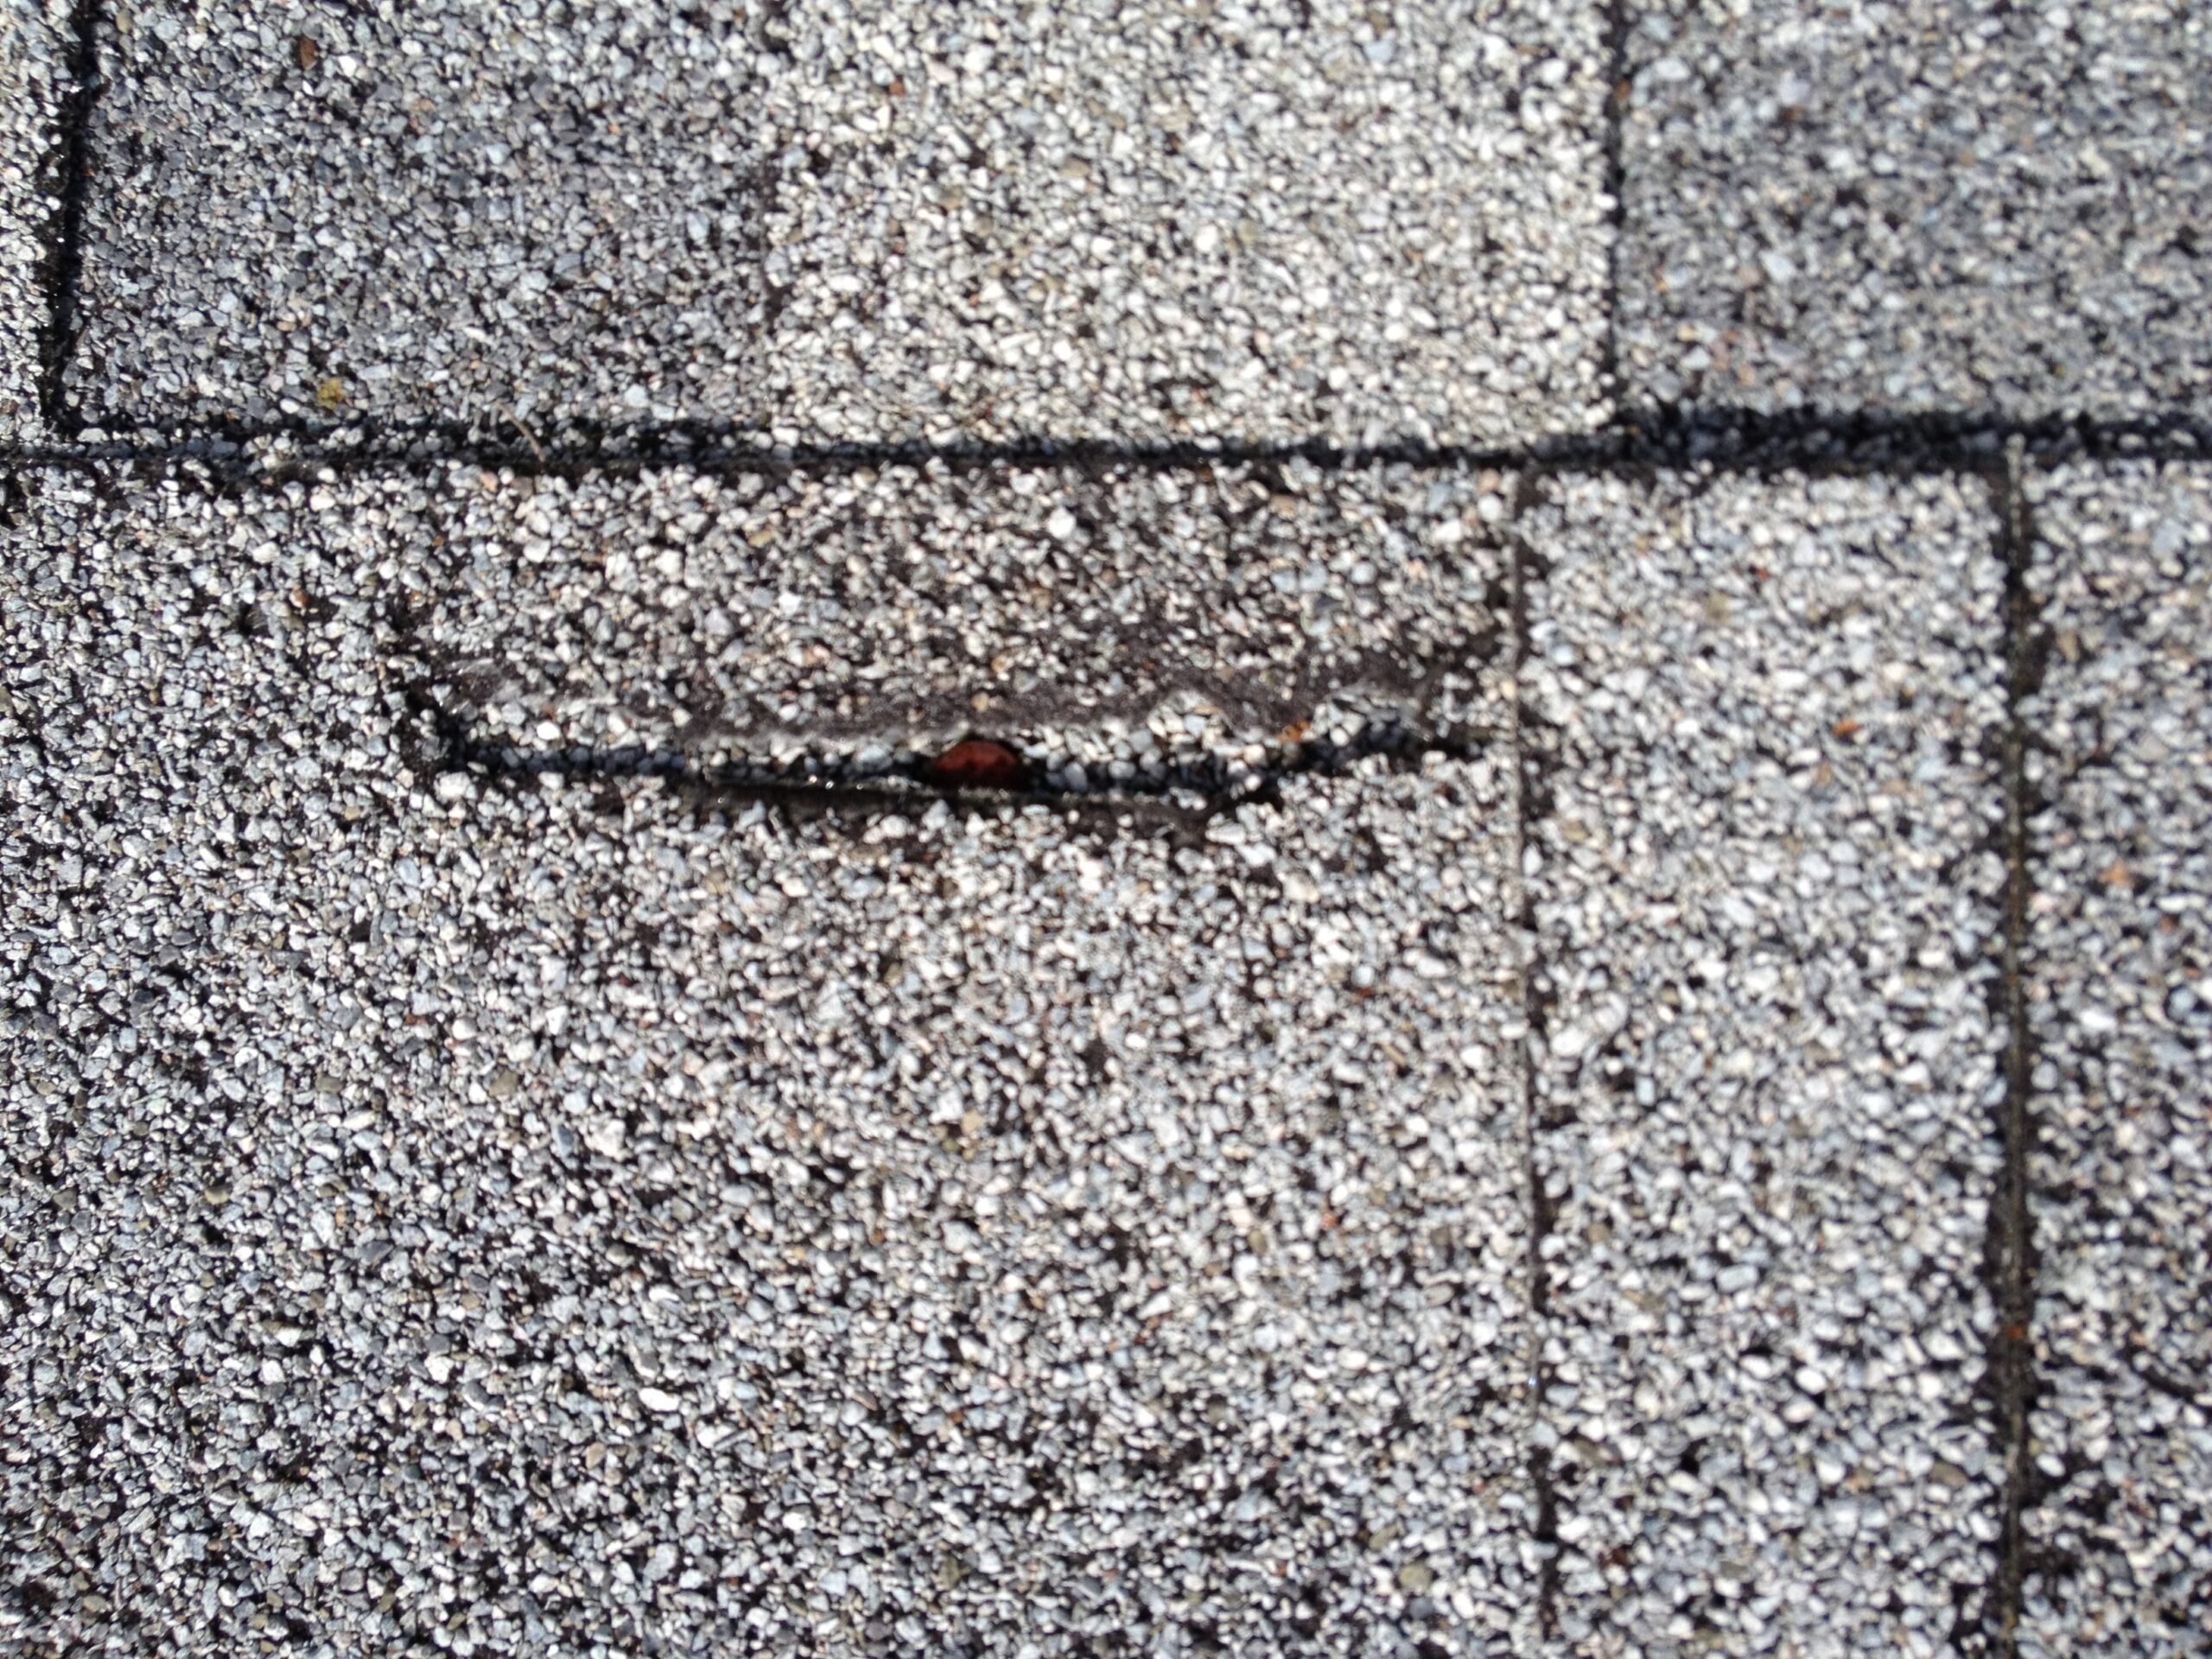
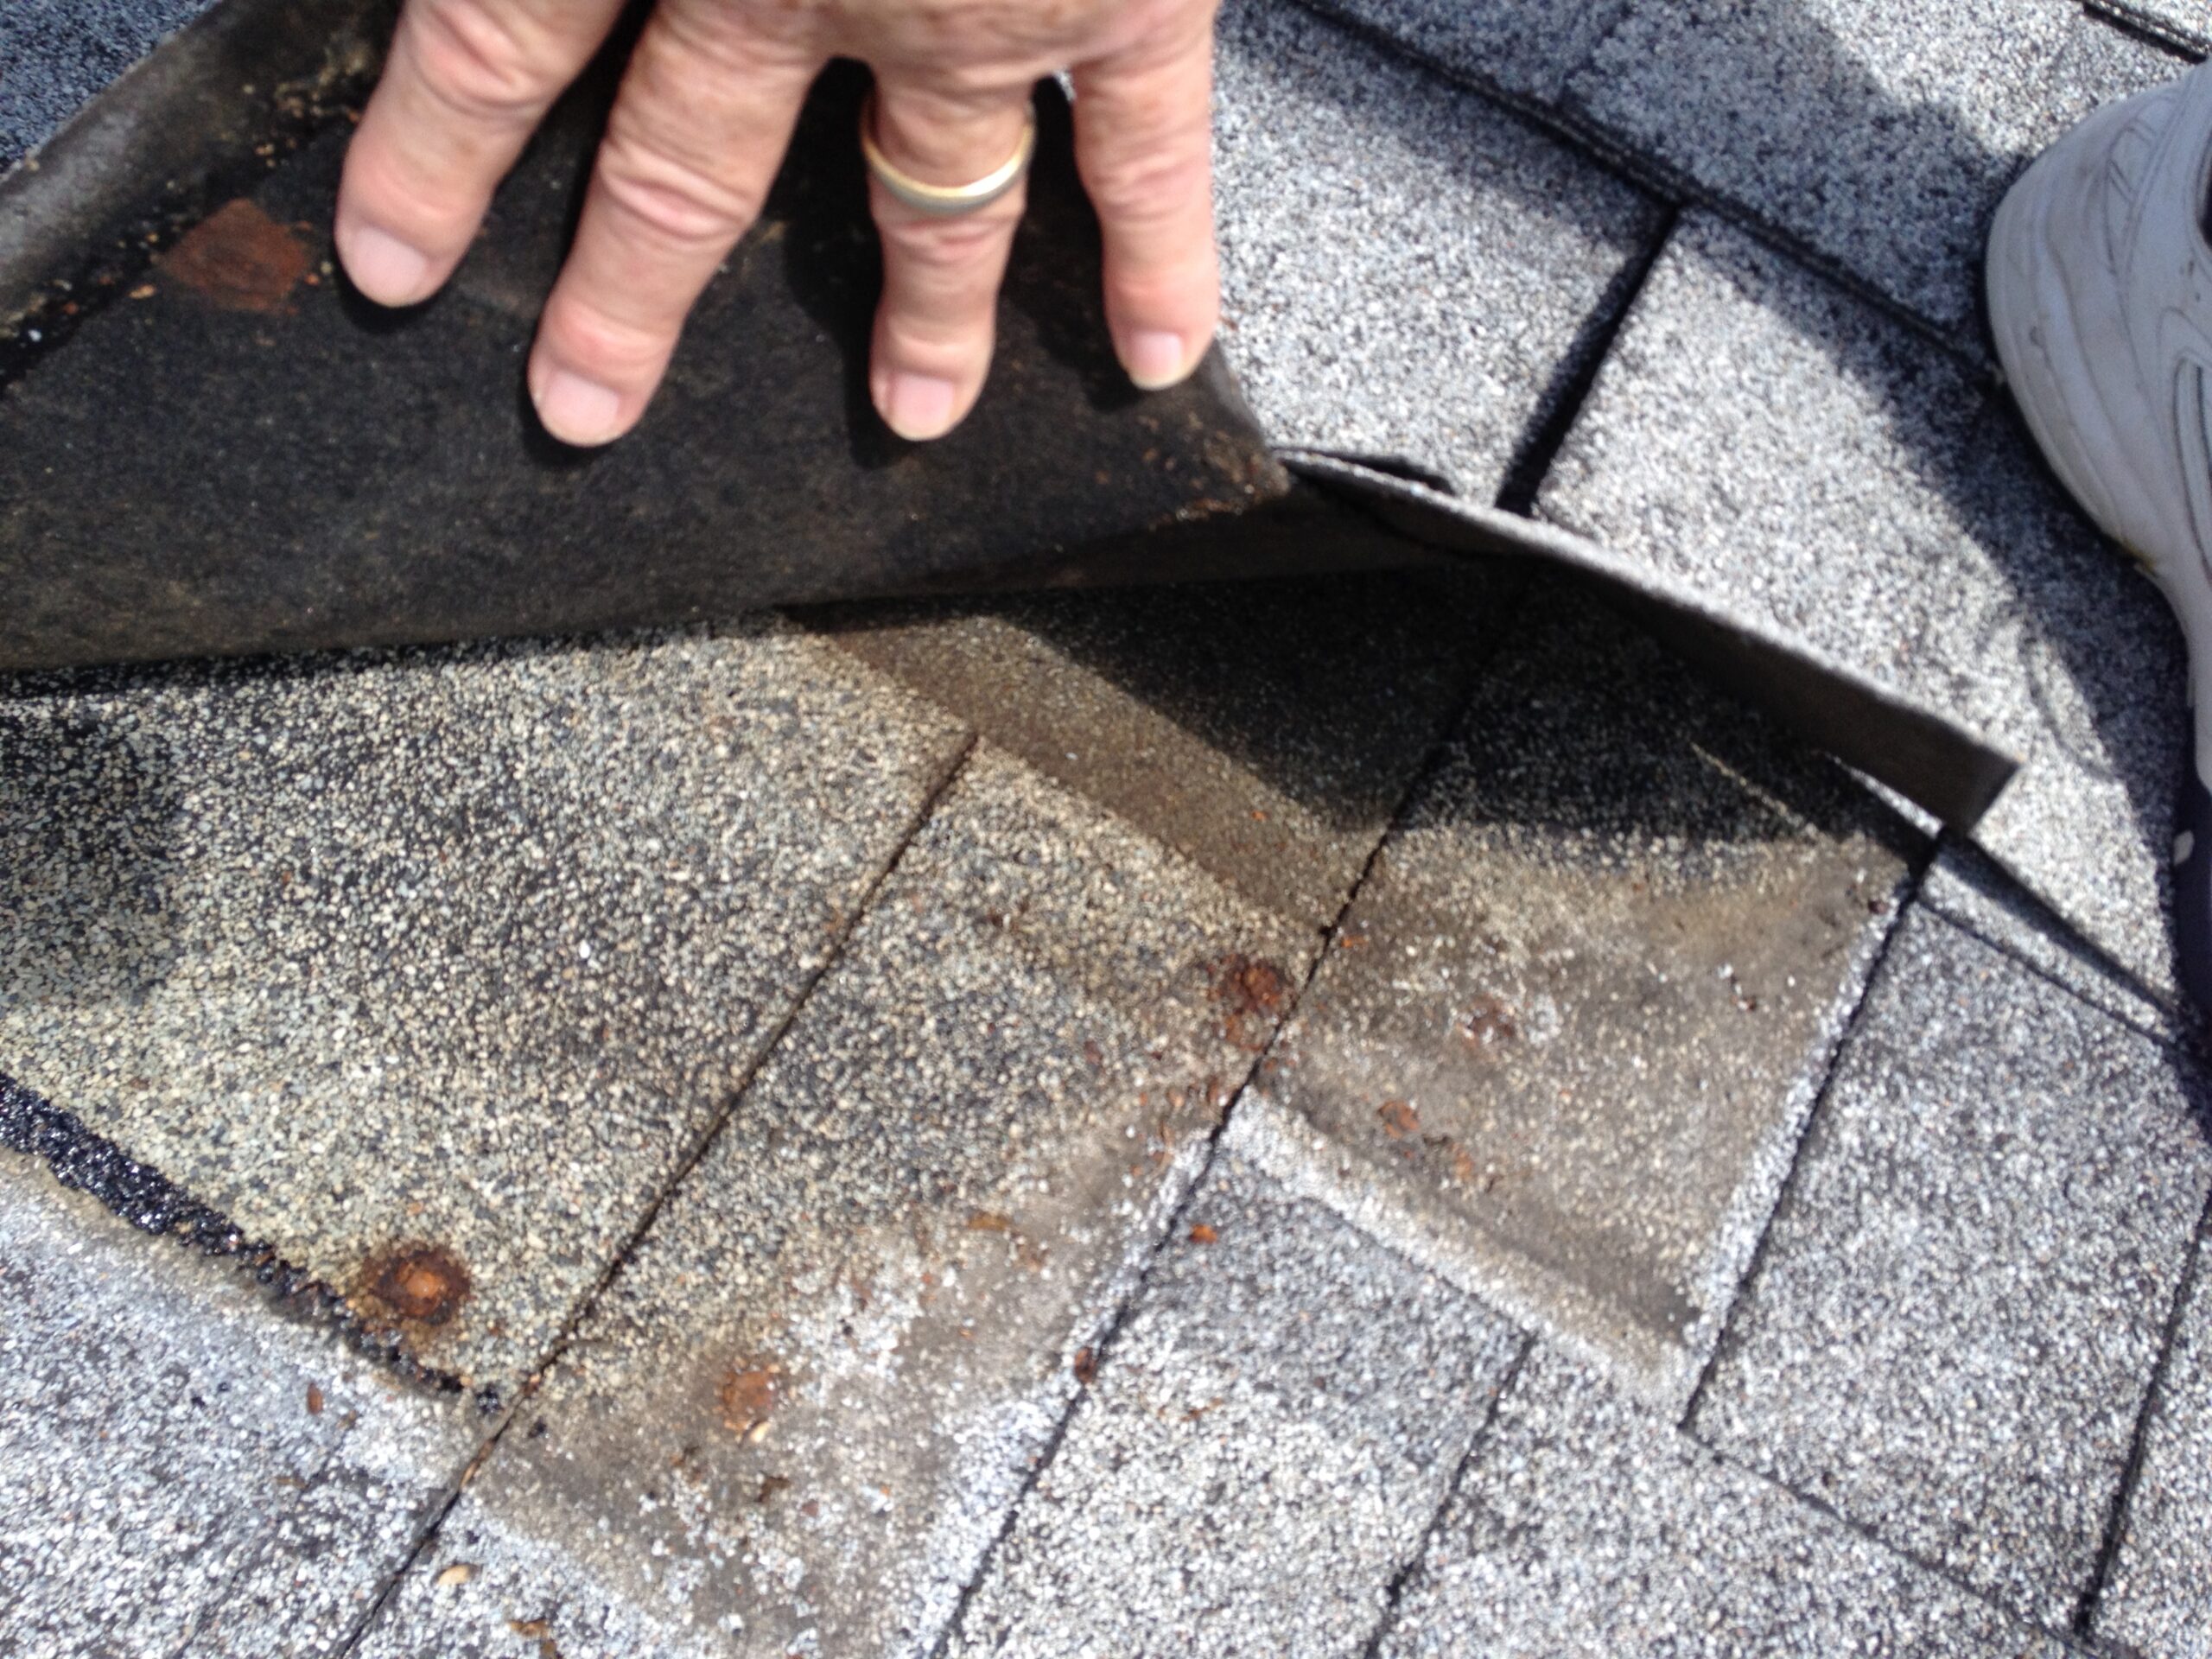
The accompanying photos illustrate the types of roof issues discussed in the article “4 Easy Shingle Roof Repairs You Can Do Now.”
4 Simple Shingle Roof Repairs You Can Do Now
If you cannot do these 4 Simple Shingle Roof Repairs You Can Do Now, don’t hesitate to contact us to complete your shingle roof repairs. We are State of Florida licensed roof contractors. We are roofing specialists and can address any issues you may be experiencing. For more information on 4 Simple Shingle Roof Repairs You Can Do Now, check out this page.
We are an A+ Accredited Roofing Company with the BBB.